Timeneye’s goal is to help you manage your time effortlessly. Today, we take an extra step: you can now track time directly in Jira.
The time tracking integration for Jira – powered by the Lucen Track Browser Widget, and by our native connection– will allow teams to be more productive and effective with their time – without losing focus on real work in Jira!
This integration is the first step to connecting seamlessly Lucen Track and Jira. In the future, we intend to expand the integration in the future to allow an even better synchronization with Jira’s tasks.
How To Track Time In Jira, With Lucen Track
- Download and install the Lucen Track Browser Widget
- Sync your Jira and Lucen Track accounts
- Go in Jira and look for the Lucen Track Button
Step One: Download And Install The Lucen Track Browser Widget
The Lucen Track Browser Widget is a useful little addition to your stack of productivity tools. It allows you to track time wherever you are on the web.
The Lucen Track Widget also integrates with a variety of software – now, it integrates with Jira as well.
So, download and install the widget. It’s available for Chrome and Firefox.
Use your Lucen Track credentials to log in to the Widget. All you need are your Lucen Track username and password.
Step Two: Sync Your Jira And Lucen Track account
Leave the Lucen Track widget on the side for a moment to go to the Integrations section of your Lucen Track workspace.
Look for the Jira icon in the integrations list.

Hello, Jira!
Here you can sync your Jira to Lucen Track, for a seamless integration.
Click the button to connect Jira and Lucen Track. You’ll be asked to grant permission for our integration to sync.

After you’ve done that, you’ll be able to
- Import any new Jira projects in Lucen Track, automatically;
- Link any existing Jira projects with the Lucen Track ones;
- Link the users in your Jira account with your team members in Lucen Track.
The sync can be 100% automatic thanks to the Synchronisation settings:

However, if you want more control over what you import from Jira, you can use the manual mode in the Manage section. This will allow you to handpick the project you want to import.
A similar process can be done for users. Only one thing though: unlike other of our native integrations, the synchronisation only links users, not imports them: that’s because Jira can allow users to not have an email address. This unfortunately is not compatible with how user invitation works in Lucen Track.
Step Three: Go In Jira To Track Time, With The Lucen Track Widget
Now, back to your Jira account. The Lucen Track Browser Widget will add a small clock icon in your Jira issues:

Just click on the clock to track time. Yes, it’s that easy!

You can start tracking in the Register time dialog
When you click on the Lucen Track button, you’ll see the Register time dialog appear, where you can select the Project and Phase.
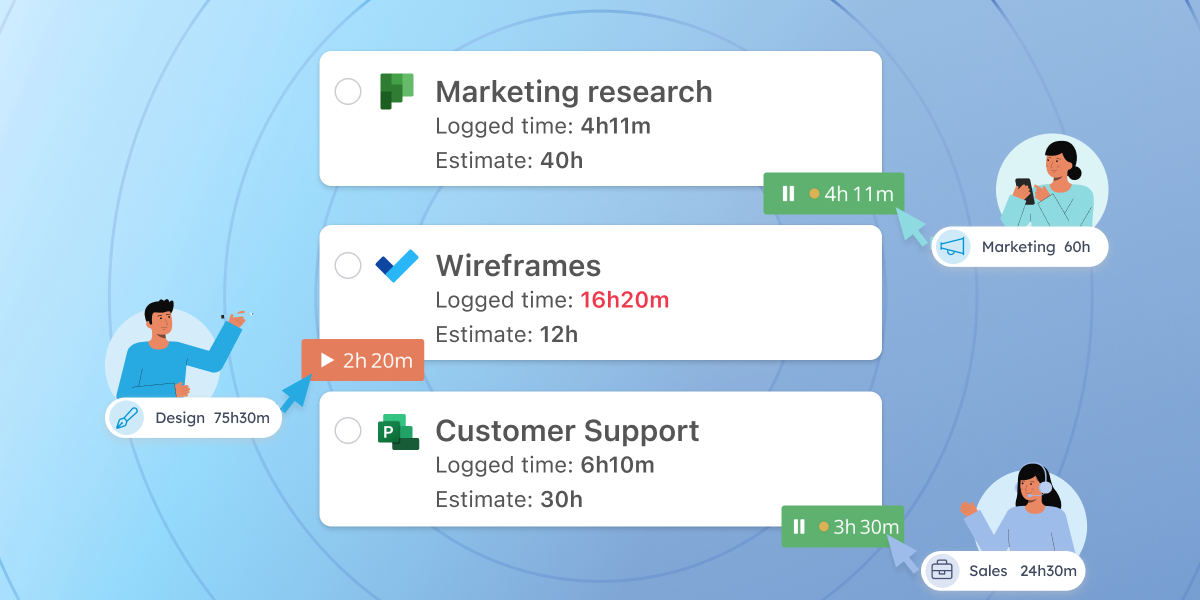
Clicking on the Jira issue to expand will also show a second Lucen Track panel. You can use this little panel to track time, and also to see how many timers/entries you have tracked for that issue as a whole.

The Benefits Of Tracking Time In Jira With Lucen Track
Thanks to the Lucen Track integration, you’ll be able to:
- Easily track how much you send working on your issues;
- Add the time your spend working on Jira issues on your Lucen Track timesheets;
- Gather data on your productivity and daily work, and analyze it in the Lucen Track reports
How to find your Jira time in Lucen Track
When you track time with the browser widget in Jira, you’ll be able to see what entries you create on your dashboard: the time card will have the Jira logo and the issue name under the notes field.

In the Entries section, you can even perform a search by Jira issue of your entries and export them.
What are you waiting for? Try the Lucen Track + Jira integration today!


Subscribe to our blog
Get all the tips, tricks and inspiration you need to create professional looking timelines, straight to your inbox.