


How to Make a Swimlane Diagram in PowerPoint (2026)
Draw a swimlane diagram in PowerPoint with shapes, a table grid or Lucen Flowchart, which adds swimlanes and keeps each step in its lane as you edit.

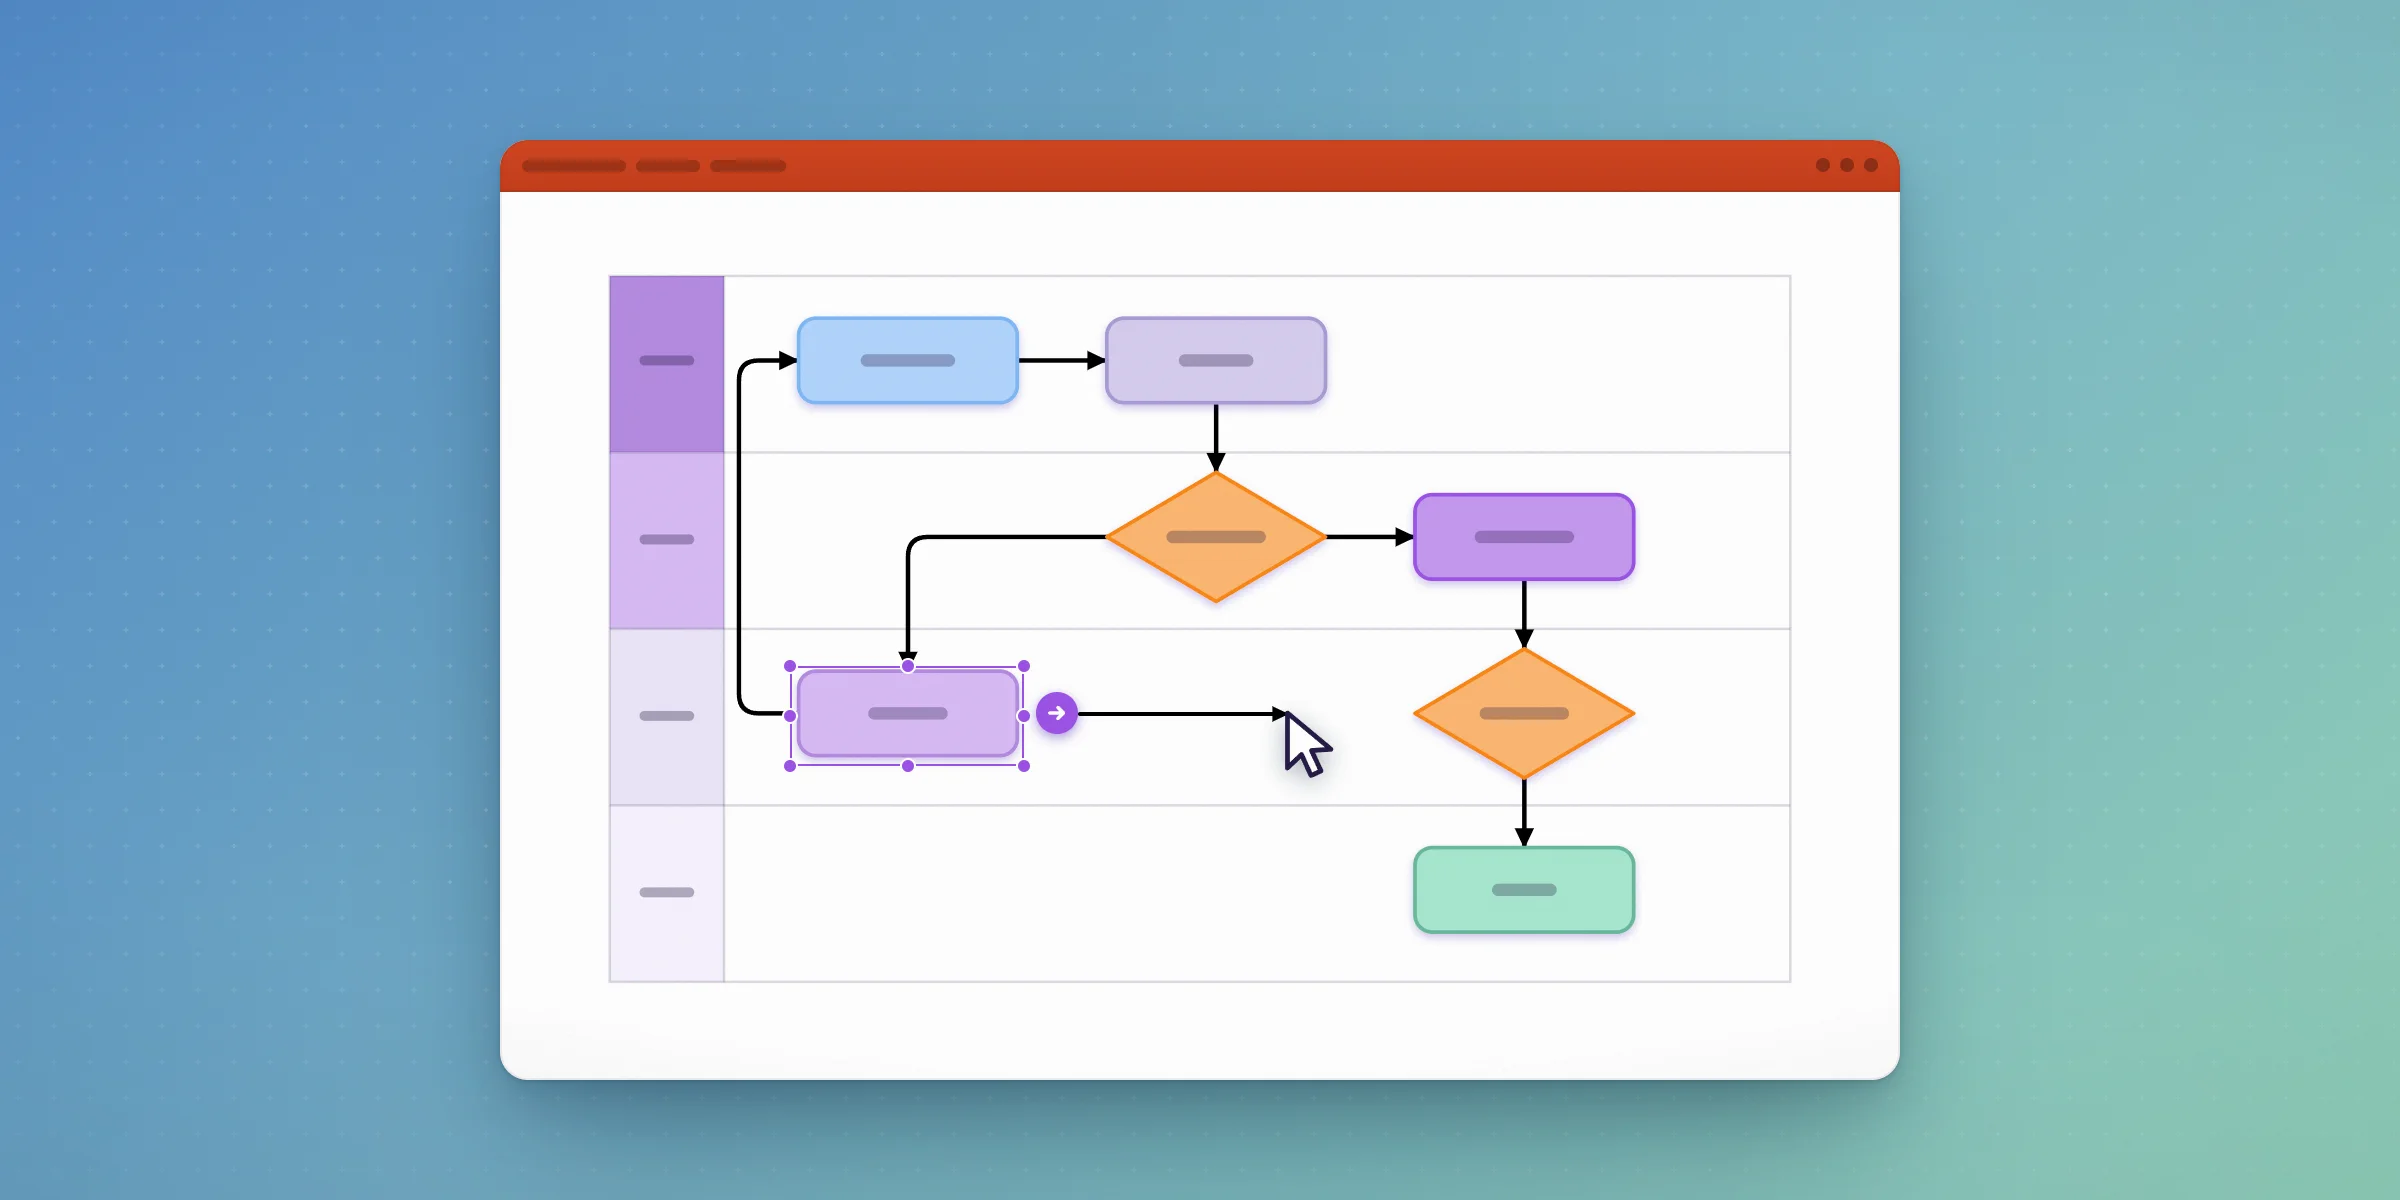
How do you create a swimlane diagram in PowerPoint?
PowerPoint has no built-in swimlane tool, so most people draw lanes with rectangles and align shapes by hand. Lucen Flowchart adds swimlanes as a layout, and auto layout keeps each step in its lane as you edit. Swimlanes in Lucen Flowchart are part of the Plus plan, and the manual method below works in any recent version of PowerPoint.
What is a swimlane diagram?
A swimlane diagram is a flowchart split into lanes, one for each person, team or system, so every step sits in the lane of whoever owns it and every arrow that crosses a lane line is a handoff. IT teams use them for incident escalation, access requests and change approvals, and operations teams use them for SOPs, onboarding and current state versus future state reviews, mostly because handoffs are where a process slows down or breaks.
Lanes can run horizontally, which suits a wide slide and processes with many steps, or vertically, which suits processes with few owners and a long sequence.
What should you decide before you open PowerPoint?
- Lanes: the roles, teams or systems involved, ideally no more than six for one slide.
- Steps: the activities in order, each tagged with the lane it belongs to.
- Decisions: the points where the path splits, with the lane that makes each decision.
- Handoffs: every place work moves from one lane to another, since those are the lines your audience will look at first.
Method 1: Draw a swimlane diagram with shapes and connectors
These steps work in PowerPoint for Microsoft 365 and recent desktop versions on Windows and Mac.
Step 1: Set up the slide
Start from a blank layout (Home > Layout > Blank) and turn on View > Guides so lanes and shapes line up.
Step 2: Draw the first lane
Go to Insert > Shapes > Rectangle and draw a rectangle across the full width of the slide. Give it a light fill and a thin outline so the steps on top stay readable.
Step 3: Duplicate the lanes
Select the lane and press Ctrl+D once for each extra lane you need, then hold Shift and drag each copy into place directly below the last. Select all the lanes and use Shape Format > Align > Distribute Vertically to space them evenly.
Step 4: Label each lane
Draw a narrow rectangle at the left end of each lane for its label, or add a text box. For a vertical label, open Format Shape > Text Box and set the text direction to Rotate all text 270°.
Step 5: Send the lanes to the back
Select every lane and its label, right click and choose Send to Back. In PowerPoint for Microsoft 365 you can also right click and choose Lock so the lanes don't move while you place steps.
Step 6: Add steps inside the lanes
Go to Insert > Shapes and use Flowchart: Process for steps, Flowchart: Decision for decisions and Flowchart: Terminator for the start and end. Place each one inside its owner's lane and keep the main sequence moving left to right.
Step 7: Connect the steps
Use Insert > Shapes > Lines > Elbow Connector and drag from a connection point on one shape to a connection point on the next. Elbow connectors keep handoff lines square as they cross from one lane into another.
Step 8: Align and group
Use Shape Format > Align to line up steps within each lane, label the branches that leave each decision, then select everything and press Ctrl+G to group the diagram.
The manual method held up until the process changed. Adding a lane meant resizing and moving every lane below it, and adding a step in the middle meant shifting the rest of the row and redrawing connectors, so many teams stopped updating the slide.
Method 2: Use a table as the lane grid
A table gives you lanes that stay evenly sized without any resizing by hand.
- Go to Insert > Table and create a table with two columns and one row per lane.
- Type the lane names in the narrow first column and widen the second column across the slide.
- Turn off the header row style under Table Design and pick a light style with visible row borders.
- Draw your flowchart shapes and connectors on top of the table, inside the right rows.
The shapes sit on top of the table rather than inside it, so if you resize a row later the steps don't move with it. The table method suits a diagram you'll build once and rarely edit.
Method 3: Build the swimlane diagram with Lucen Flowchart
Lucen Flowchart is a PowerPoint add-in that builds process flows, decision trees and swimlane diagrams as native, editable PowerPoint shapes on the slide you present from.
- Install Lucen Flowchart and open it from the PowerPoint ribbon.
- Describe the process to Lucen AI in plain language and say who does each step, for example: "Access request: the employee submits a request in the service desk, their manager approves it, IT security reviews anything with admin rights, then the service desk grants access and closes the ticket."
- Add swimlanes (Plus plan) for each role or team, or start from a swimlane template.
- Edit in place. When you add a step, move one to a different lane or add a lane, auto layout realigns the shapes, reroutes the connectors and keeps each step in its lane.
Colors and fonts follow the deck's theme, and the people you send the deck to need no add-in or Lucen account to view or edit the diagram. Lucen Flowchart runs in PowerPoint 2016 and newer on Windows, including Microsoft 365.
If your IT diagrams live in Visio today: building the swimlane diagram on the slide means every shape opens in PowerPoint without Visio installed, so stakeholders can read and edit what you present. Visio is still the better tool for formal notation and network diagrams.
Which method should you use?
| Your situation | Best method |
|---|---|
| Two or three lanes, drawn once | Shapes and connectors |
| Evenly sized lanes for a diagram you won't edit much | Table grid |
| Several lanes, many handoffs, or a process that changes often | Lucen Flowchart |
Troubleshooting swimlane diagrams in PowerPoint
The lanes move when I click on a step. The lanes are sitting on top of the steps or aren't locked. Send them to the back and, in PowerPoint for Microsoft 365, lock them.
Handoff lines cut through other steps. Rearrange the steps so the main sequence runs in one direction, then right click each connector and choose Reroute Connectors.
Lane labels look crowded. Shorten them to a role or team name and rotate them 270° in a narrow label column.
There are too many lanes for one slide. Group minor roles into one lane, or split the process by phase across two slides with the same lanes on each.
Download a free swimlane diagram template for PowerPoint
Browse our swimlane diagram templates for ready lane layouts you can edit in PowerPoint.
Frequently asked questions
No. PowerPoint doesn't include a built in swimlane layout, so you draw the lanes with rectangles or a table, start from a downloadable template, or use an add-in like Lucen Flowchart.
A swimlane diagram is a flowchart with lanes added, so it shows who owns each step as well as the order of the steps. A plain flowchart shows the sequence and decisions without assigning owners.
Horizontal lanes fit a widescreen slide and processes with many steps. Vertical lanes work better when there are only a few owners and the sequence runs long.
Yes, with shapes, connectors or a table, which work the same way in PowerPoint for Mac. Lucen Flowchart runs in PowerPoint 2016 and newer on Windows, including Microsoft 365, and Mac users can open and edit the finished slides but can't build with the add-in.
Yes. The diagram is made of native PowerPoint shapes, so anyone with PowerPoint can open and edit it without the add-in or a Lucen account.
Lucen Flowchart has a Free plan that lets you go from a process description to a shareable diagram with Lucen AI. Plus costs less than $9 per user per month on an annual license and adds unlimited diagrams, swimlanes, templates, and Lucen AI that turns flowchart images into editable diagrams.
Process maps and flowcharts in PowerPoint: guides and how-tos

Subscribe to our blog
Get all the tips, tricks and inspiration you need to create professional looking timelines, straight to your inbox.